2017년 4월 8일 토요일

[Arduino Uno R3] The doremi sound by buzer.

You can control the buzer sound tone using delay and digitalWrite.
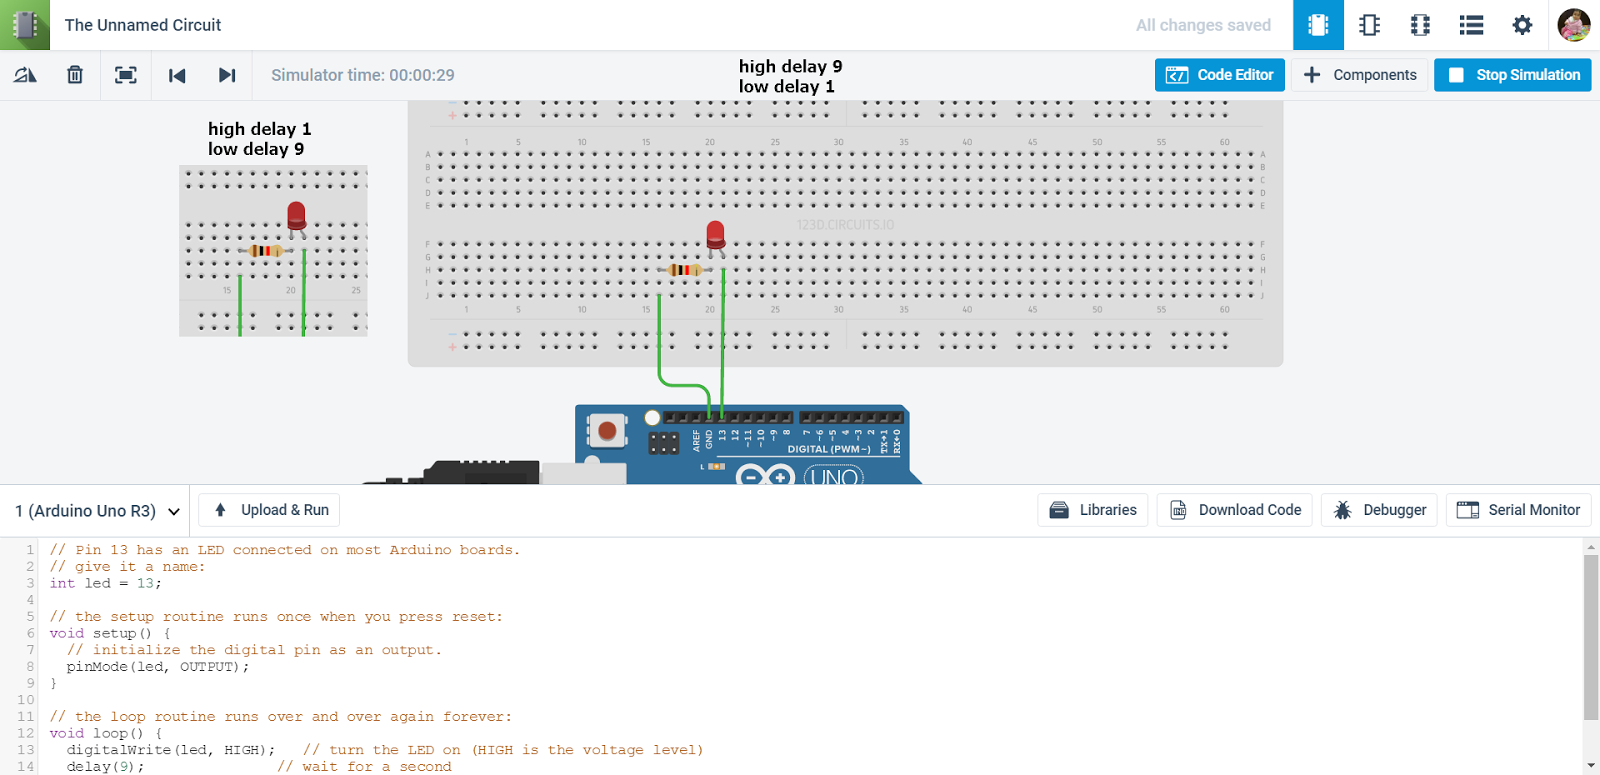
The buzer tone is controlled by vibration period.
Following is vibration period for doremi.
C - 262
D - 294
E - 330
F - 349
G - 392
A - 440
B - 494
High C - 523
...

Demo


Code

#define DX 12
int abc[] = {262, 294, 330, 370, 392, 440, 494, 523};

// the setup routine runs once when you press reset:
void setup() {
  // initialize the digital pin as an output.
  pinMode(DX, OUTPUT);
}

// the loop routine runs over and over again forever:
void loop() {
  for(int i = 0; i < 8; i++)
  {
    mtone(DX, abc[i], 500); // abc[i] tone sound for 0.5 second
    delay(50);
  }
}

void mtone(int dx, int hz, unsigned long tm)
{
  unsigned long t = millis();
  unsigned long ns = (long)500000 / hz;
  
  // Repeats for tm milliseconds.
  // Sounds for tm milliseconds
  while(millis() - t < tm)
  {
    digitalWrite(dx, HIGH);
    delayMicroseconds(ns);
    digitalWrite(dx, LOW);
    delayMicroseconds(ns);
  }
}

Description

millics() : The function to get past time by milliseconds since starting Arduino.
tone() : It's a function provide by Arduion which is the same as mtone. So you can change the code mtone -> tone.

[Arduino Uno R3] LED brightness with digitalWrite.

You can control LED brightness with digitalWrite.
Normally, LED brightness with digitalWrite is regular.
If you want to control LED brightness, use delay function.

The time that LED is on is long, people will see the LED seems brighter.
Like following.

The right LED is brighter, because the time that LED is on is longer than the time that LED is off.
The left LED is more dark.

Following is code.
// Pin 13 has an LED connected on most Arduino boards.
// give it a name:
int led = 13;

// the setup routine runs once when you press reset:
void setup() {
  // initialize the digital pin as an output.
  pinMode(led, OUTPUT);
}

// the loop routine runs over and over again forever:
void loop() {
  digitalWrite(led, HIGH);   // turn the LED on (HIGH is the voltage level)
  delay(9);               // wait for a second
  digitalWrite(led, LOW);    // turn the LED off by making the voltage LOW
  delay(1);               // wait for a second
}

[Arduino Uno R3] To use buzer by analogWrite.

It's very easy to use buzer.
Buzer can be connected to + and -.
By analogWrite, you should to send value 255/2 to buzer.
If you want stop buzer sound. you should to send value 0 to buzer.


Following is code to use buzer.
// you don't need to write any code into setup()
void setup() {

}

// the loop routine runs over and over again forever:
void loop() {
  analogWrite(9, 255/2);  // buzer sound 
  delay(1000);
  analogWrite(9,0);         // no buzer sound
  delay(1000);
}

[Arduino Uno R3] To turn on LED by each level using analogWrite.

You can turn on LED by each level using analogWrite.
analogWrite function has 2 parameter.
analogWrite function's first parameter is pinNumber and second parameter is value.
The value can has number from 0 to 255.
Following is electric circuit diagram.

From ~10 port to the resist and to LED.
The ports have a prefix '~' are analog output ports.

Next code is to send eletric from ~10 analog output port to LED.
// Pin 10 has an LED connected on most Arduino boards.
// give it a name:
int led = 10;

// the setup routine runs once when you press reset:
void setup() {
  // initialize the digital pin as an output.
  pinMode(led, OUTPUT);
}

// the loop routine runs over and over again forever:
void loop() {
  byte n = 5;
  for(int x = 0; x < 5; ++x)
  {
    analogWrite(10, x*255/n);
    delay(1000);
  }
}

2017년 4월 6일 목요일

[BRCad] BRCad v0.1

Most commercial cad programs are too heavy.  People like me who often use CAD program feel uncomfortable.

So I searched any free CAD program that very powerful. Because I need to manage some very big dwg file.
I found some free CAD program, but they could not satisfy me.

Finally, I decided to make CAD program for me.
It takes about 4 hours to make this program using Hg3D Engine in HaneeSoft.
Hg3D Engine is a graphics framework and easy to use and has many useful functions.

Also Hg3D Engine is used for BimRoad that I developed. It is very powerful engine.

Following is BRCad v0.1 demo.


In addition, I share a blog of BimRoad that developed using Hg3D.


2017년 4월 4일 화요일

[Arduino Uno R3] Electric flow with jumper wire, LED, resist.

1. Demo


2. Code

// Pin 13 has an LED connected on most Arduino boards.
// give it a name:
int led = 13;

// the setup routine runs once when you press reset:
void setup() {
  // initialize the digital pin as an output.
  pinMode(led, OUTPUT);
}

// the loop routine runs over and over again forever:
void loop() {
  digitalWrite(led, HIGH);   // turn the LED on (HIGH is the voltage level)
  delay(100);               // wait for a second
  digitalWrite(led, LOW);    // turn the LED off by making the voltage LOW
  delay(500);               // wait for a second
}

3. Description

 - Electric flow : From D31 on Arduino to GND on Arduino
 - Electric has to flow from + to - (GND). So it goes from D13 to + pin on Bread Board and to - leg on LED and to + leg on LED and to a resist and to - pin on Bread Board and to GND on Arduino.
 - Green arrows is showing to go to where electic flow.

[Arduino Uno R3] To send text string to Serial Monitor using Serial.

1. Demo


2. Code

// the setup routine runs once when you press reset:
void setup() {
  // initialize the serial
  Serial.begin(9600);
}

// the loop routine runs over and over again forever:
int i = 0;
void loop() {
Serial.write("*** Test(");
  Serial.print(i);
  Serial.write(") ***\n");
  delay(100);
i++;
}

3. Description

 - Serial communication is to display a text string. You can see the string on the serial monitor.
 - Serial.print and Serial.println
   : Serial.print is to display a text string without '\n'
   : Serial.println is to display a text string with '\n'. '\n' means next line.
 - Serial.write
   : Serial.write can have '\n' in the text string.


4. Arduino Simulator 

 - https://circuits.io/


2017년 4월 3일 월요일

[Arduino Uno R3] A basic example like "Hello world".

1. Demo


2. Code

// Pin 13 has an LED connected on most Arduino boards.
// give it a name:
int led = 13;

// the setup routine runs once when you press reset:
void setup() {
  // initialize the digital pin as an output.
  pinMode(led, OUTPUT);
}

// the loop routine runs over and over again forever:
void loop() {
  digitalWrite(led, HIGH);   // turn the LED on (HIGH is the voltage level)
  delay(150);               // wait for a second
  digitalWrite(led, LOW);    // turn the LED off by making the voltage LOW
  delay(150);               // wait for a second
}


[Development Story] GFtp v1.5 - Added progress form using BackgroundWorker that has a cancel button.

GFtp v1.5 has a Cancel button that can clicked while translating files.
This button is implemented using BackgroundWorker in C#.
First, I try to implement a cancel button function using modaless form.
But I failed. So I did googling and can find implementation about cancel button.
Link is following.
http://perschluter.com/show-progress-dialog-during-long-process-c-sharp/

Thanks to

Per Schlüter


1. Update list

 - Added a progress form that has a cancel button.

2. GFtp v1.5 demo

 - 

3. Code snippets

 - Required event handler.

  - backgroundWorker.DoWork
  - backgroundWorker.ProgressChanged
  - backgroundWorker.RunWorkerCompleted

 - backgroundWorker.DoWork

   The event handler is called by BackgroundWorker.RunWorkerAsync() call.
   This is running on thread. So you can work other things while running this event handler.
   I defined this event handler like following code.
this.backgroundWorker.DoWork += new System.ComponentModel.DoWorkEventHandler(this.backgroundWorker_DoWork);
 
   I implemented this event handler like following code that to translate files.
 // The backgroundWorker for upload and download
        void backgroundWorker_DoWork(object sender, System.ComponentModel.DoWorkEventArgs e)
        {
            BackgroundWorker worker = sender as BackgroundWorker;

            // Get files of ftp
            string[] files;
            if(_ftpController.Upload == false)
                files   = ftpFileGridView.GetSelectedFiles();
            else
                files = fileGridView.GetSelectedFiles();

        
            // Translates files using ftpcontroler.
            // BackgroundWorker will changed percent while translating files.
            if (_ftpController.TranslateFiles(files, worker))
            {
                if (_ftpController.Upload == false)
                    RefreshFileGridViewOfCurrentDirectory();
                else
                    RefreshFtpFileGridView();

                if(worker.CancellationPending == true)
                    MessageBox.Show("Canceled.");
                else
                    MessageBox.Show("Completed.");
            }
            else
            {
                MessageBox.Show("Failed.");
            }
        }

 - backgroundWorker.ProgressChanged

   This event handler is called when progress percent changed.
   So I implemented this event handler for updateing progress bar.
        // When progress percent is changed, call this function
        void backgroundWorker_ProgressChanged(object sender, System.ComponentModel.ProgressChangedEventArgs e)
        {
            // title caption
            _progressForm.Text = "Translating " + _ftpController.CurrentTranslatingFile + "..." + " " + (e.ProgressPercentage.ToString() + "%");

            // label
            _progressForm.Message = _progressForm.Text;

            // progress bar percent.
            _progressForm.ProgressValue = e.ProgressPercentage;
        }


 - backgroundWorker.RunWorkerCompleted

   This event handler is called when backgroundWorker is done.
   I implemented this event handler for closing the progress form and refresh the file grid view.

        void backgroundWorker_RunWorkerCompleted(object sender, System.ComponentModel.RunWorkerCompletedEventArgs e)
        {
            _progressForm.Close();

            RefreshFileGridViewOfCurrentDirectory();
        }

 - Cancel button in the progress form.

   Because file translating is running on thread, you can click the cancel button in the progress form that showing.
   If you click the cancel button then call the event handler for cancel.
   The cancel event handler stop backgroundWorker and display message box "Canceled".

        // when cancel button is clicked, call this function
        void _progressForm_Canceled(object sender, EventArgs e)
        {
            if (backgroundWorker.WorkerSupportsCancellation == true)
            {
                // Cancel the asynchronous operation.
                backgroundWorker.CancelAsync();

                // Close the AlertForm
                _progressForm.Close();

                RefreshFileGridViewOfCurrentDirectory();
            }
        }

   Also, the cancel event handler is set for event handler of cancel button in the progress form like following.

       _progressForm = new ProgressForm();
       _progressForm.Canceled += _progressForm_Canceled;

4. Etc

 - Souce code : https://github.com/gurum77/GFtp
 - Plan : File translating using thread.